
Melissa McCullough shares her creative crafts!
Heart tie dye shirt:
What you’ll need:
White shirt
Assorted colours of tie dye
Rubber bands
Rubber gloves
Buckets or bowls for dye bath
Paper to create heart template
Washable marker
What to do:
1. Wash shirts and let them dry to the point of just damp.
2. Create a heart template. (We googled a picture of a heart and printed it onto a horizontal A4.)
3. Fold the T-shirt in half. Place the folded heart along the fold of the T-shirt and use a washable marker to trace the heart on the shirt.
4. Start at the bottom of the heart outline and gather the fabric accordion style along the line. Place 3 rubber bands on top of each other around the outline of the heart.
5. Prepare the tie dye by following the directions on the box.
6. Place entire shirt into tie dye bath and let it soak until desired hue is reached. (Ours stayed in for 5-10 minutes…but to help the shirts retain vibrant colours you can keep them soaking for up to an hour.)
7. Rinse shirt until water runs clear.
8. Hang to dry then wash in warm water and dry.
9. Pat yourself on the back for having learnt tie dying skills!
*We also had a great time placing rubber bands wherever we wanted and admiring our cool abstract designs!
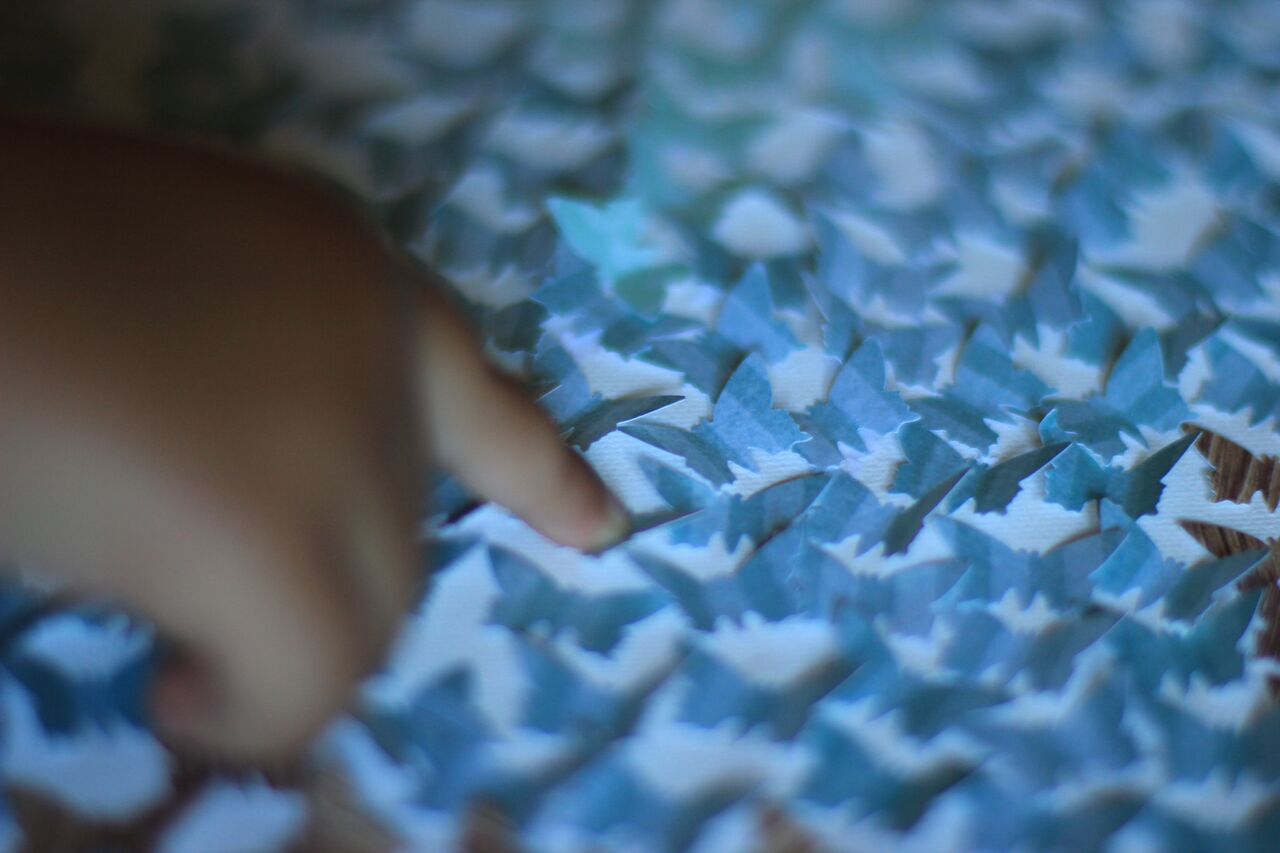
Butterfly punch canvas:
You’ll Need:
– A canvas
– Craft punch
– PVA Glue
– Paper or card in various colours
What to do:
Get started punching out those butterflies! We punched brown for our tree trunk and branches and used green for the leaves.
Gather the butterflies in small stacks and bend the wings up by folding the stack just slightly in the middle.
Pour some PVA glue onto a plastic plate and dip just the middle section of the paper butterflies into the glue.
Arrange your butterflies on the canvas in the shape of a tree. Be sure to leave a few stragglers here and there that appear to be just joining or leaving the configuration.
*Use your imagination! Paint the canvas before starting the artwork. Try different punches and shapes … maybe in the shape of a heart or stars to spell out a name.
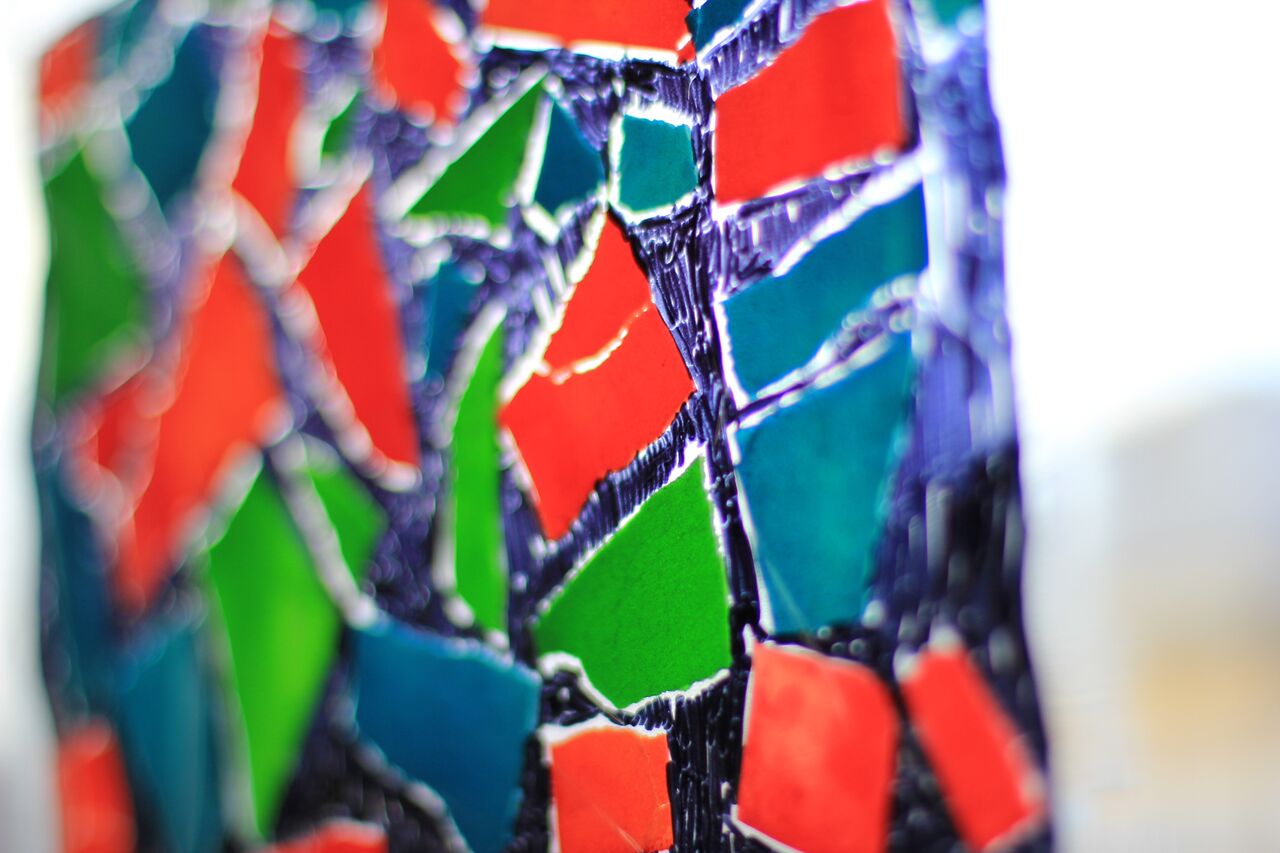
Stained glass pasta:You’ll need:
Dry lasagne sheets
Liquid watercolors or food coloring
Rubbing alcohol or white vinegar
Ziploc bags
Clear contact paper or packing tape
Painter’s tape or another tape to secure your “window” to your work surface
Black Sharpies
Baking paper or aluminium foil
What to do:
1. Break your lasagne noodles into pieces. There should be a variety of sizes.
2. Colour your pasta. This will take about 15 minutes to colour and a few hours to dry.
2a. Divide pasta into freezer bags using one bag for each colour.
2b. Working with one bag at a time, add 1 teaspoon of rubbing alcohol/vinegar to the bag. Close the top and scrunch it around in your hands to distribute the alcohol.
2c. Now add your food colouring to the bag. Again close the top and scrunch it around in your hands to distribute the colour.
2d. Spread the dyed pasta out on a cookie sheet lined with baking paper or aluminium foil and let dry.
3. Cut out two matching sizes of clear contact paper. (We used overlapped packing tape.)
4. Remove the backing from one piece of contact paper and tape it your work surface using painter’s tape. The sticky side should be facing up.
5. Place pieces of the coloured lasagne on the contact paper. They can custom break pieces as necessary. Leave at least 60mm gaps between the pieces.
6. Remove the backing from the second piece of contact paper and gently place it on top of the finished layout. Gently press down on the gaps with your fingertips to seal.
7. Using a wide tip Sharpie, fill in the gap between the coloured pieces with black for a stained glass effect.


